How to Dewinterize Your RV: Ultimate Guide
Contents
Springtime is quickly approaching, so you may already be wondering how to dewinterize your RV. RV winterization is a key step that helps you protect the valves, tubes, and other elements in your motorhome from freezing temperatures. However, it’s also necessary to follow a dewinterization protocol to remove anti-freeze and complete other steps to ensure that our RV works properly.
In this article, we will go over the steps on how to dewinterize your RV properly and ensure that it’s ready to hit the road come spring. We will also discuss the importance of proper dewinterization and give you tips to get the perfect rig if you’re looking for a new RV.
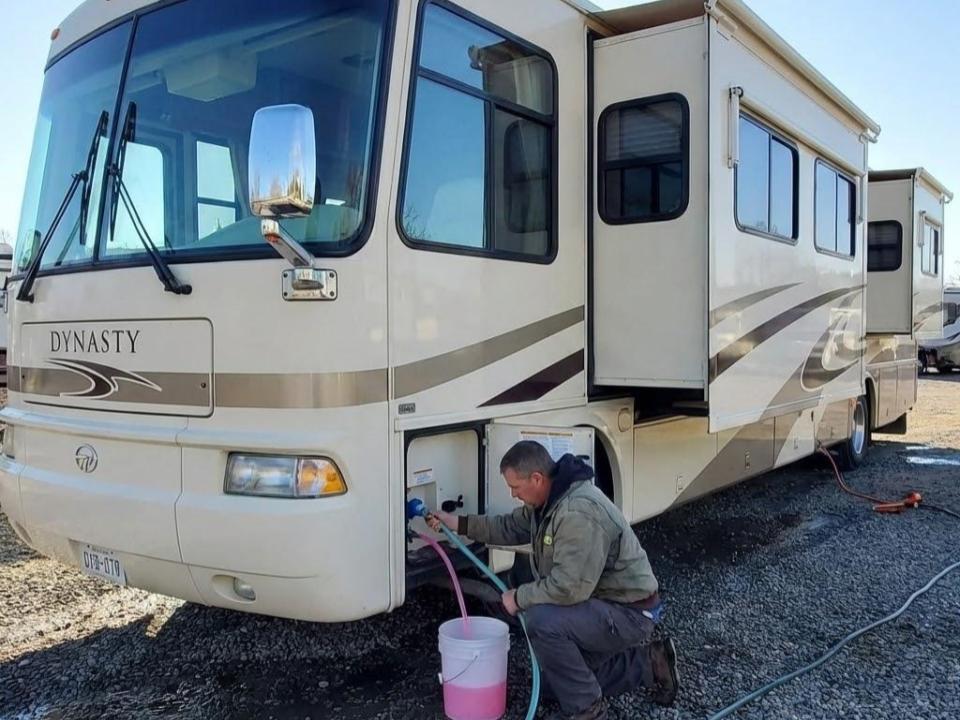
1. Perform the First Drain of the Anti-Freeze
When dewinterizing an RV, your first step is draining all the antifreeze from the plumbing system. Open the low-point drain valves and let everything flow out completely. Don’t rush this part. Taking your time ensures you clear the lines properly and prevent lingering taste or residue.
2. Flush the System
If you’re wondering how to dewinterize a camper correctly, flushing the system is essential. Once the antifreeze is drained, connect to fresh water and run each faucet until the water runs clear. Flush the toilet and operate the shower to remove any remaining antifreeze from the lines.
3. Check for Leaks
After the first part of your dewinterizing process, carefully inspect all plumbing connections, valves, and visible lines. Turn on the water pump and look for drips or moisture under sinks and around fittings. Catching small leaks early can save you from costly repairs once you’re out traveling.
4. Sanitize the Water
Knowing how to dewinterize a camper also means making sure your water is safe. Add a diluted bleach solution to your freshwater tank, run it through the lines, and let it sit. Then flush thoroughly with clean water until any odor disappears.
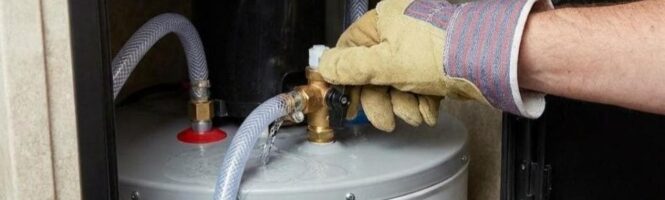
5. Switch Off the Water Heater Bypass
When learning how to dewinterize an RV, don’t forget to switch the water heater bypass valve back to normal operation. Reinstall the drain plug or anode rod, fill the tank completely, and only then power it on to avoid damaging the unit.
Why Is Proper Dewinterization Key?
Properly dewinterizing your RV protects your plumbing system, ensures clean drinking water, and prevents unnecessary wear on pumps and heaters. Skipping steps can lead to unpleasant tastes, hidden leaks, or damaged components. Taking the time now means fewer headaches once camping season begins.
Find the Best RV for Your Spring and Summer Trips and Kirland RV
Dewinterizing may take some time, but it’s a necessary process to help keep your RV in good condition, ensure drinking water that tastes great, and guarantee that you have hot water once you hit the road.
Ensuring proper draining is essential, so start by opening the low-point valves to start removing the anti-freeze. Next, flush the system, check for leaks, sanitize the water, and make sure there’s water running through your heating system before firing it up.
If you are looking for an RV, you’ve come to the right place. At Kirkland RV, we’ve spent the last two decades helping individuals and families find the perfect rig. All you need to do is share your requirements and some of the activities you want to use your RV for and our team will gladly recommend the best options based on your budget. Contact us today!