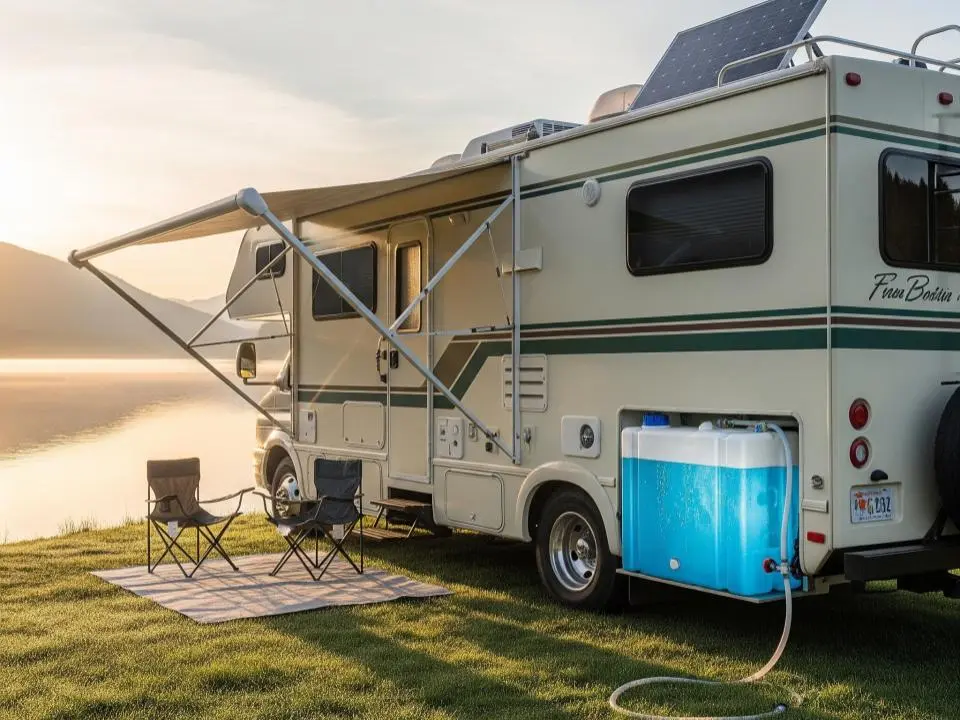
How to Sanitize RV Freshwater Tank: Ultimate Guide

Contents
Looking for instructions on how to sanitize an RV freshwater tank? You’ve come to the right place. Trips to the hospital can derail your trip from a time and money perspective, so keeping your freshwater tank clean will help ensure a fun, healthy, and safe trip.
Have you noticed funky smells coming from your freshwater deposit? Here are 4 simple steps to sanitize your RV freshwater tank.
1. Turn Off Your Heater and Empty the Tanks
Before you start, turn off the water heater and empty your tanks completely to prevent damage during the cleaning process.
2. Add Your Product or DIY Mix
Add your preferred cleaning product or DIY mix into the freshwater tank. You can make your own blend using approximately ¼ cup of bleach for every 16 gallons.
3. Drain and Flush the System
Once the cleaning solution has sat for several hours, drain and flush your RV’s freshwater tank to remove residue.
4. Give It a Whiff and Make Sure It’s Good to Go!
After flushing, smell the water coming from your faucets. If it’s odor-free and fresh, your tank is officially sanitized.
How Often Should You Sanitize Your Tank?
Freshwater tanks should be cleaned out every 6 months if you use your RV full-time. In the case it has been sitting idle for some time, we suggest running a sanitation cycle at least once even if you emptied the tank when you used it last.
The key to learning how much bleach to sanitize RV freshwater tanks properly is to play it safe, always check the water coming from your tank, and take precautions wherever possible.
Cleaning Duration: How Long Does the Sanitation Take?
Perhaps the most important thing you should remember when learning how to sanitize a recreational vehicle freshwater tank is to give yourself enough time.
You have to go through the process a few times depending on how dirty the tank is, so it’s safe to assume you’ll be working on the sanitation for at least half of a day.
You may finish up before, but this calculation will give you enough time to add product, let it sit, and flush the tank a few times.

Prepare Everything You Need for Your Next Adventure
Learning how to sanitize your RV freshwater tank is relatively easy, you just have to give yourself enough time to go through each step carefully. Start out by turning off the heater and emptying the tanks, add your cleaning product, drain and flush the system, then verify that it’s clean and you’re good to go.
You won’t need many supplies to get the cleaning done, simply get your cleaning product or DIY mix ready, grab a bucket or funnel, and get to work. You should clean your freshwater tank once every six months if you’re a full-time RVer. Otherwise, make sure to sanitize the tank before each trip you take to ensure you have water of the highest quality.
At Kirkland RV, we know how to take care of freshwater tanks and all other key components in a motorhome. We’ve helped countless families find the perfect rig, so contact us today if you need help choosing the best RV and learning how to take care of your new motorhome.

